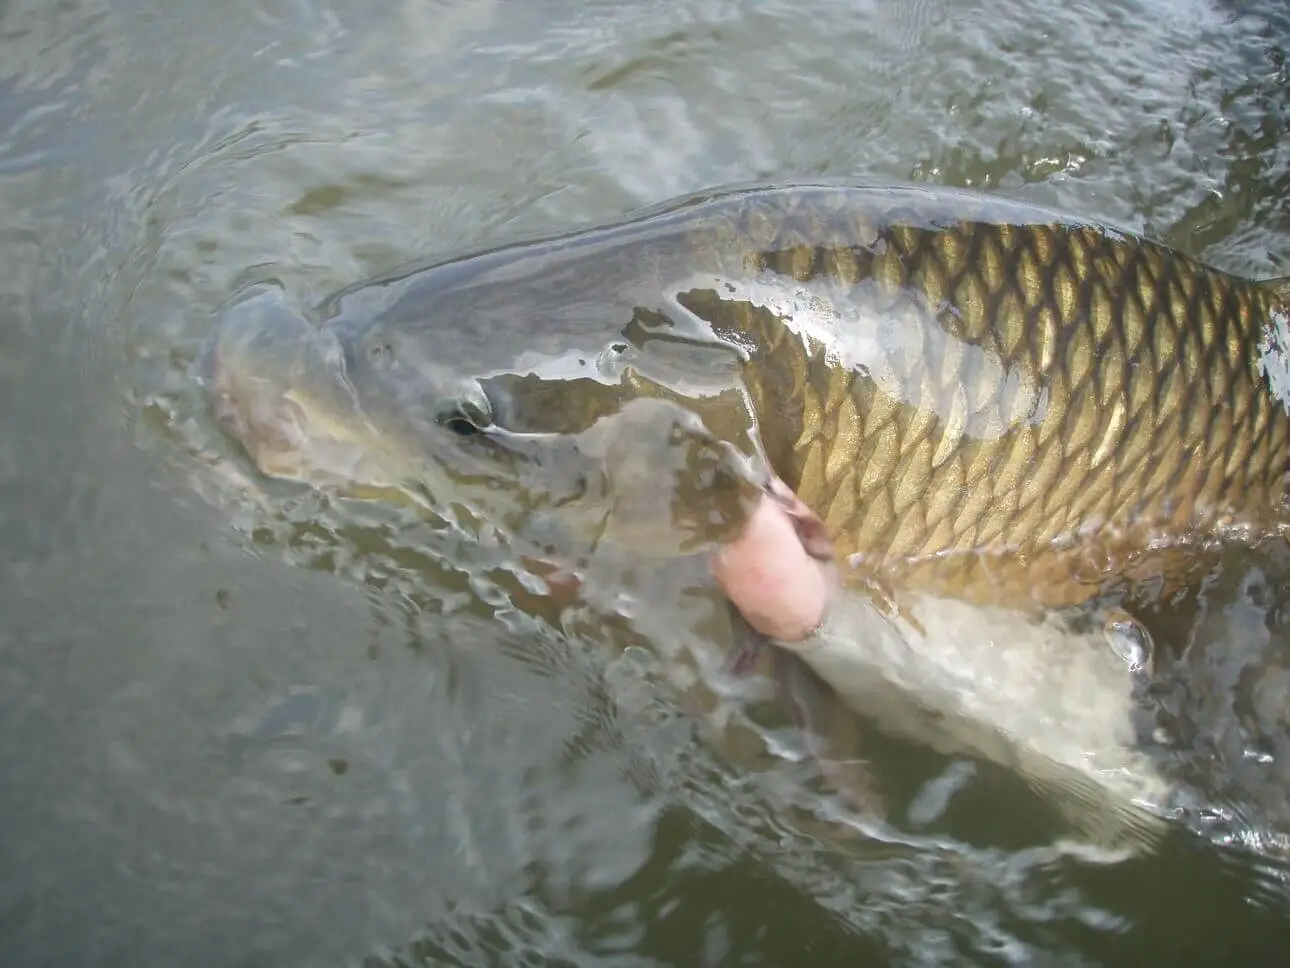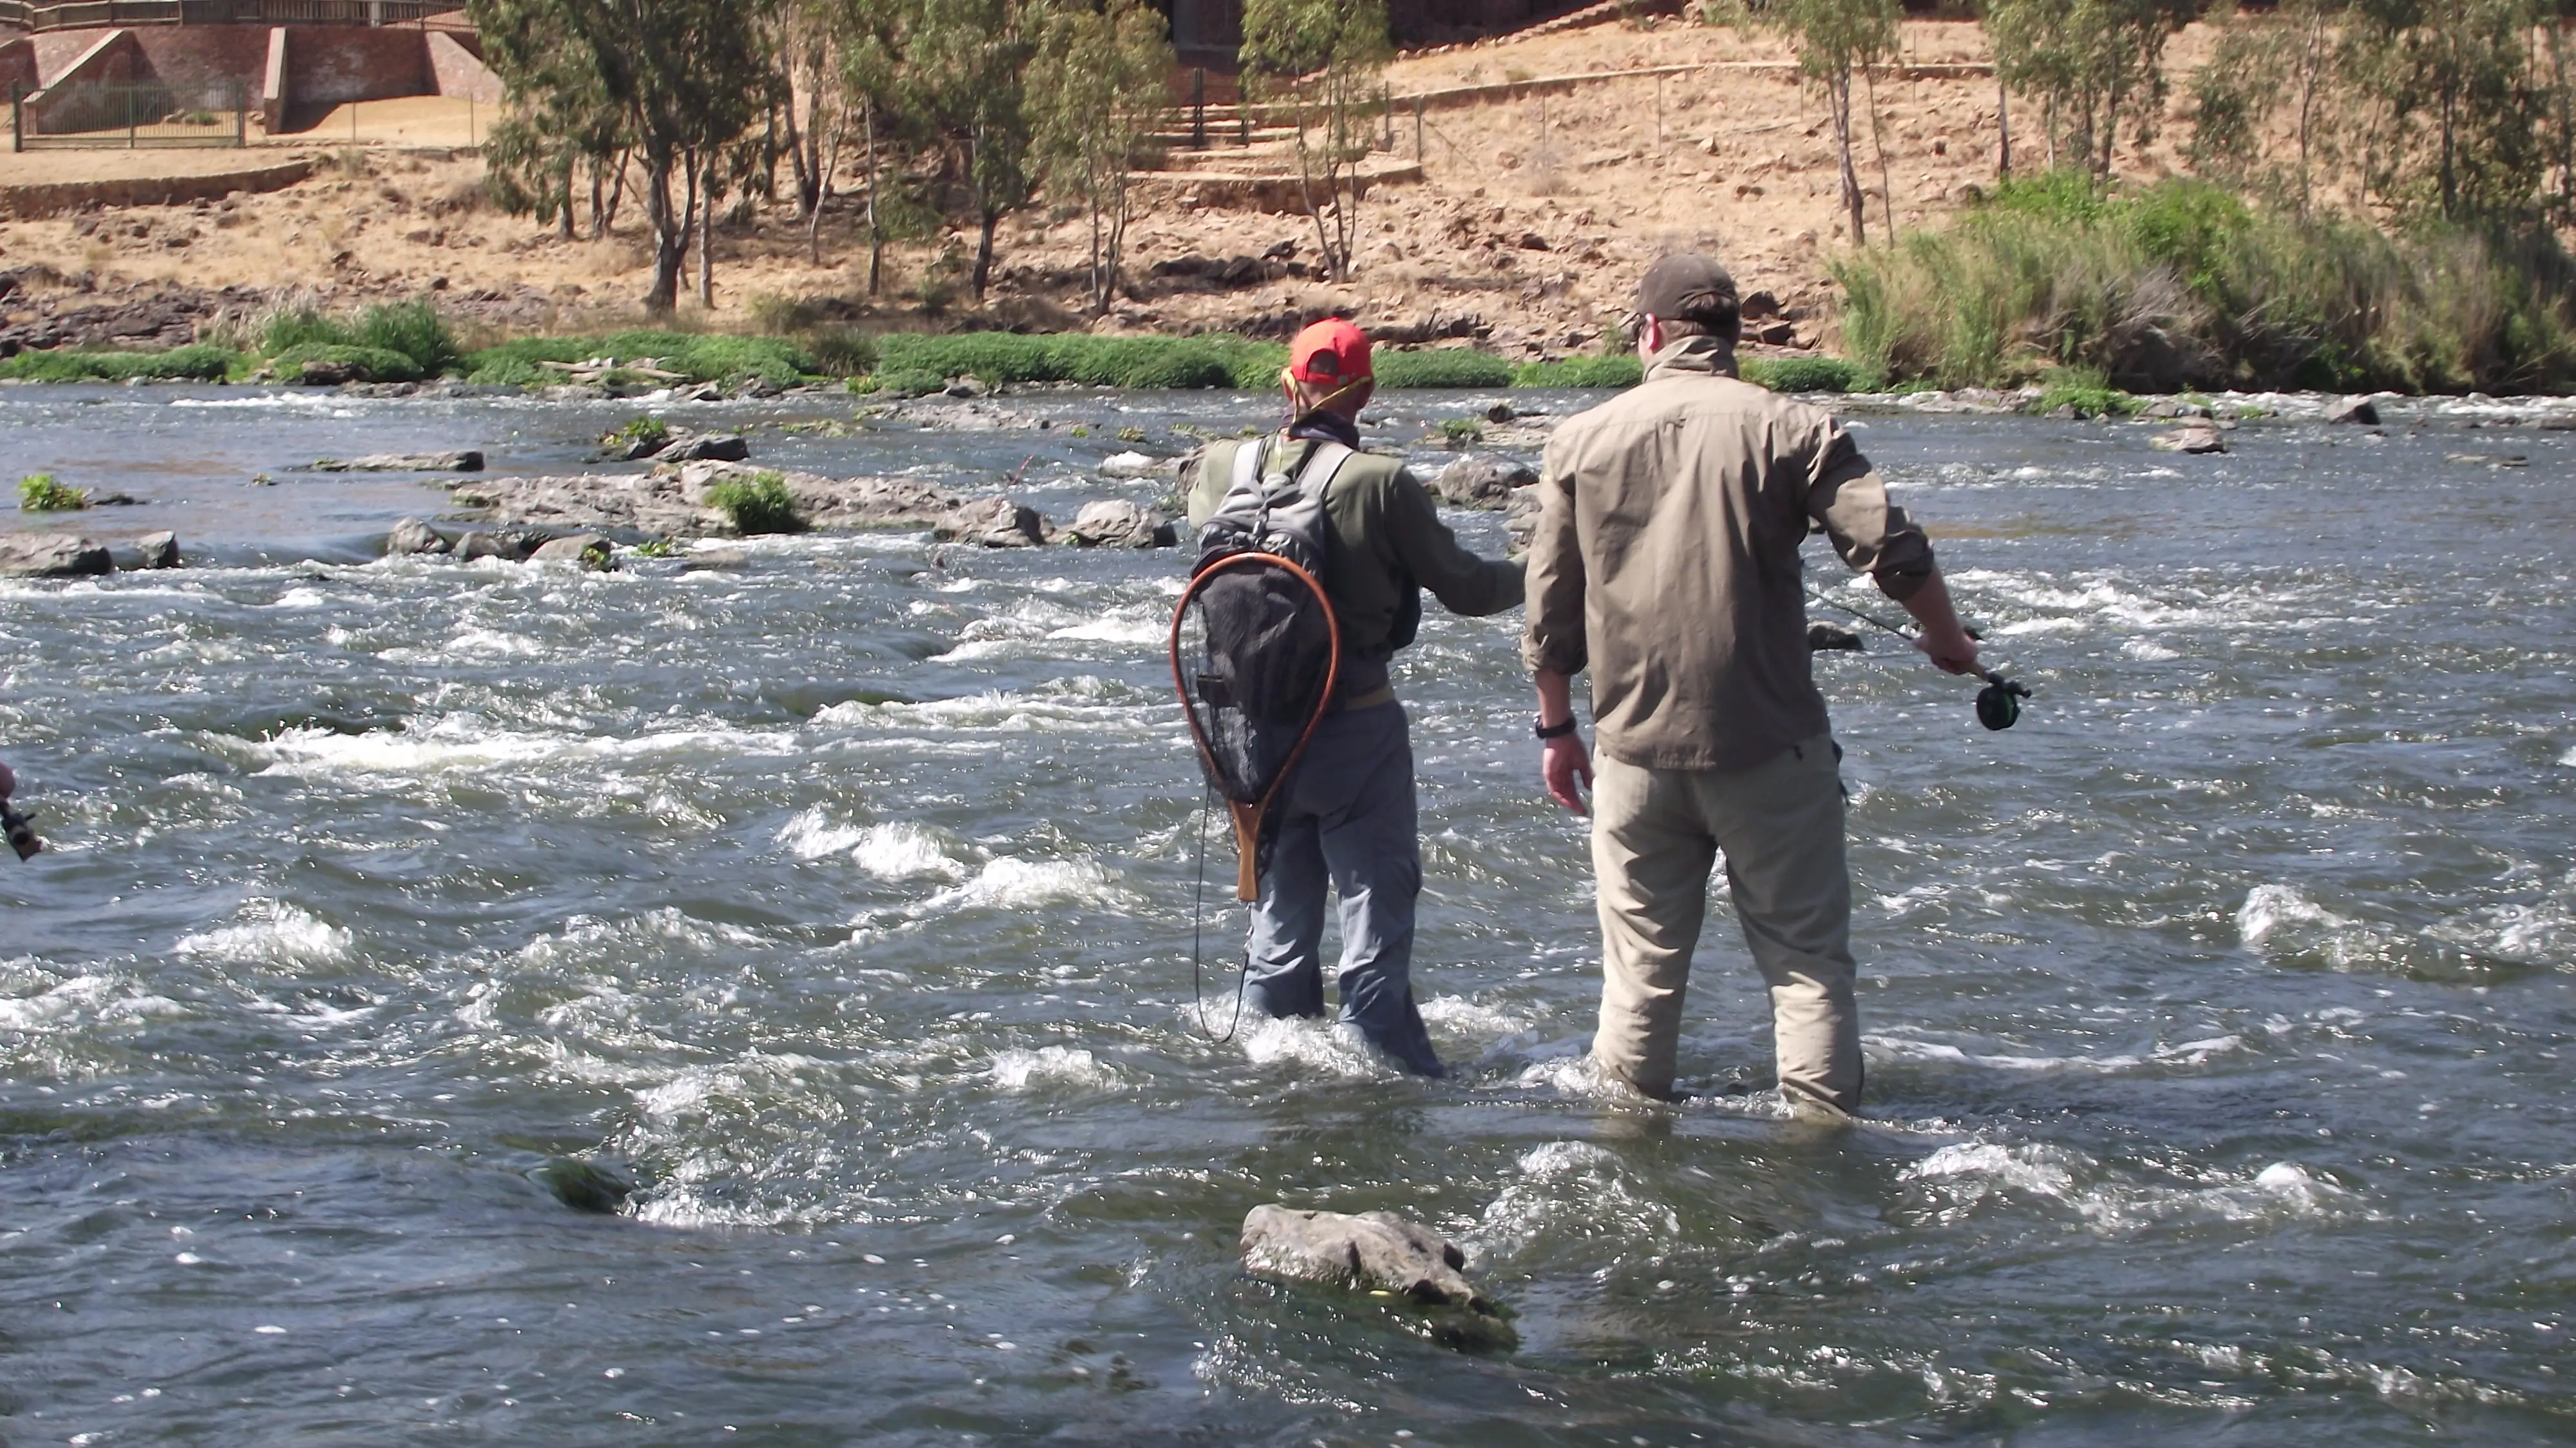
By: Shayne Prinsloo
Focus area: Parys, Potchefstroom, Lindequesdrift and Vaal River runs, seams, riffles and pocket water.
Quick Tactical Summary
If you only read one section, read this. These are the defaults that catch Yellowfish consistently on typical Vaal runs.
Rod
10–11ft 4–6wt. A forgiving 4wt is ideal.
Leader
Thin mono or Euro line + sighter + tippet ring + two flies.
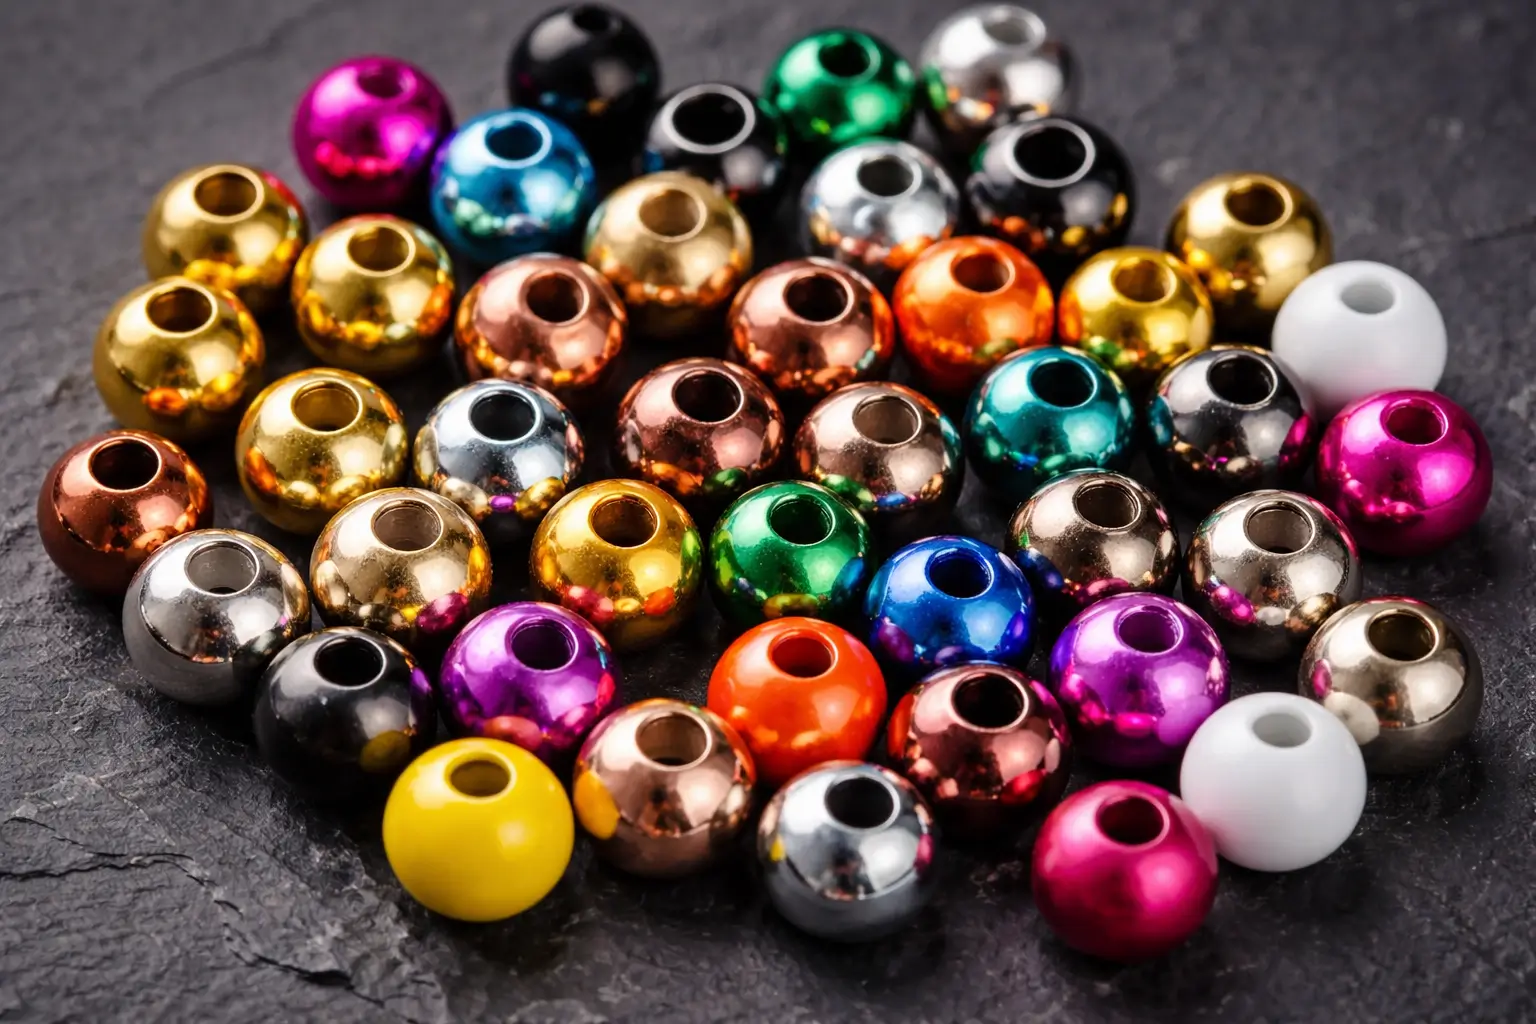
Beads
2.3–3.0mm low/clear · 3.0–3.5mm most days · 3.5–4.0mm deep/fast seams.
Depth
Light bottom ticks, not constant snagging.
Drift
Short, controlled tight-line contact with no surface belly.
Takes
Watch the sighter and set on anything that looks or feels wrong.
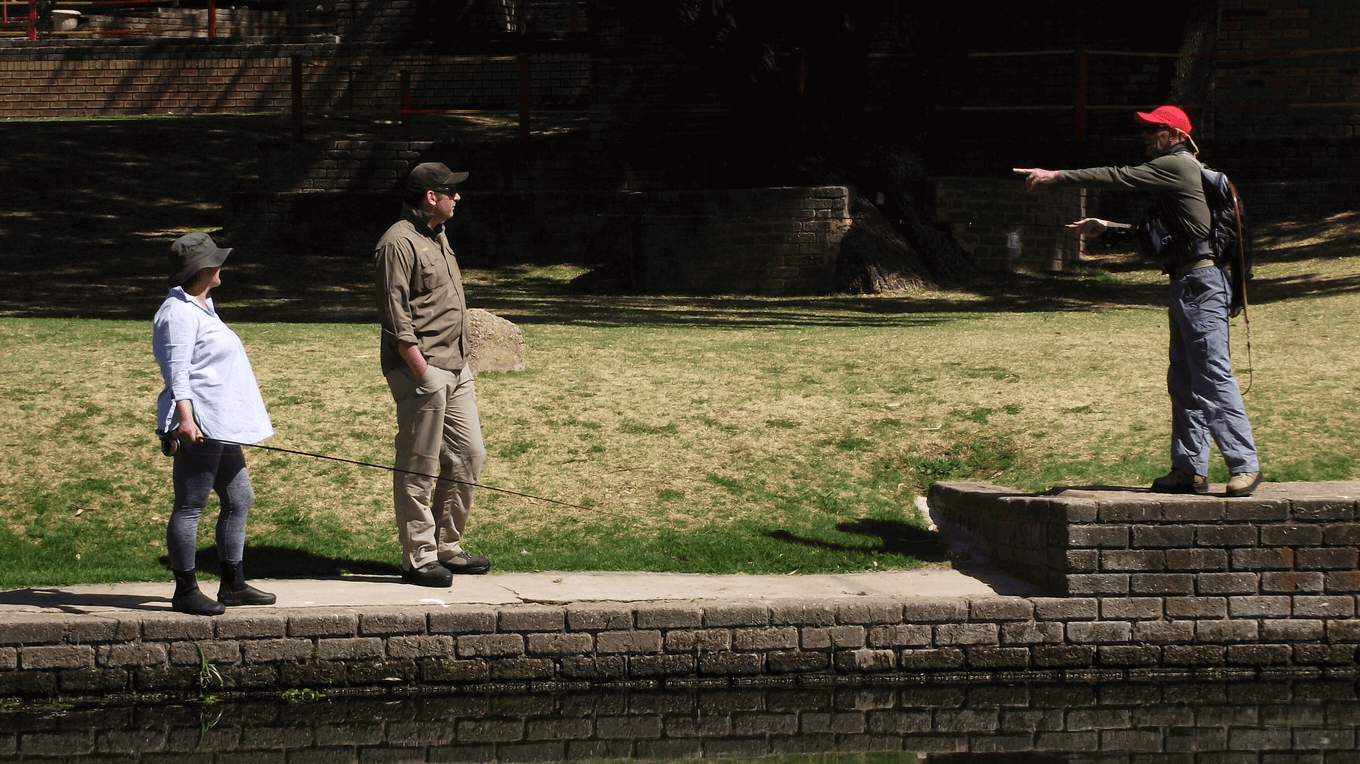
When Euro Nymphing Beats Indicator Nymphing on the Vaal
Euro nymphing wins whenever the river gives you multiple current lanes, seams, pockets, boulders, tongues and riffles. The Vaal often has fast surface flow with slower near-bottom flow. If something is riding on the surface, it can pull your flies unnaturally fast.
Choose Euro When
- Riffles and broken water
- Seams alongside faster flow
- Pocket water around rocks
- Short to medium drifts
- Subtle takes and pressured fish
Euro Is Harder When
- Wide slow glides need long drifts
- Wind and distance make tight-line control hard
- Deep slow water favours suspension
- Obstacles behind you limit movement
Gear & Leader Recipes
The fastest way to improve your Euro nymphing results is to standardise your setup and only change weight, drift lane and distance.
Euro Leader Recipe
- Main line: thin Euro line or mono.
- Sighter: hi-vis section you can see.
- Tippet ring: protects the sighter and makes changes quick.
- Tippet: 3X–5X depending on clarity and snags.
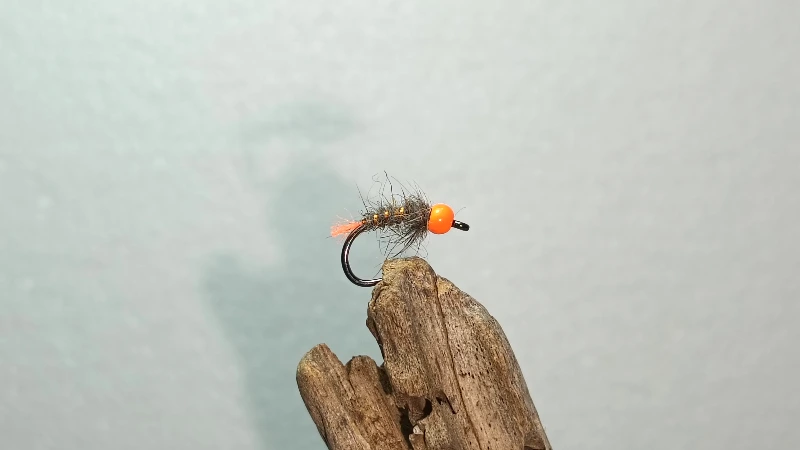
- Two flies: heavier point fly and lighter dropper.
Point Fly
Heavier bead, usually 3.0–3.5mm, with streamlined caddis or mayfly/PTN-style profile.
Dropper Fly
Lighter bead or unweighted, smaller silhouette and subtle hotspot if needed.
Rod Angles & Distance
Keep your flies close enough that you can maintain contact through the drift. On the Vaal, that usually means fishing shorter than you think.
Euro Nymphing Leader Setup
Below is the leader structure used for Euro nymphing on the Vaal River. It balances sensitivity, depth control and natural drift.
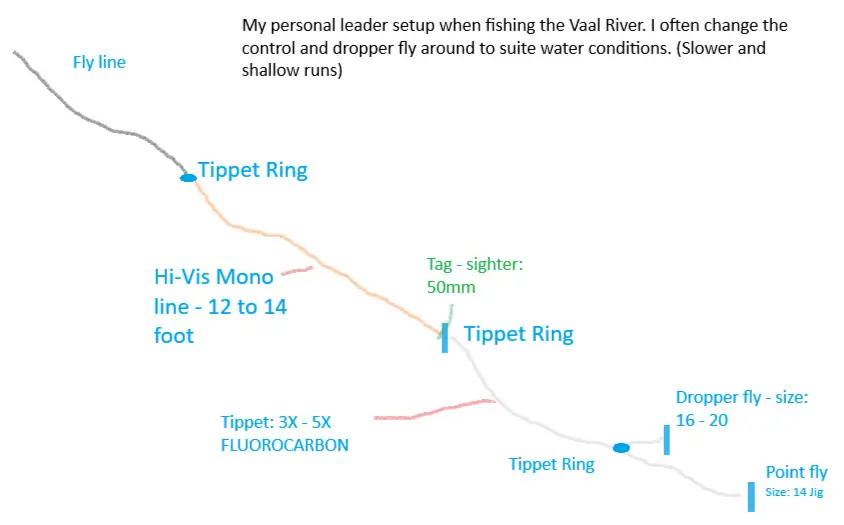
Why This Works
- Thin mono reduces surface drag
- Sighter improves subtle take detection
- Tippet ring protects the leader
- Fluorocarbon sinks faster
- Two flies cover depth and profile
Adjustments
- Change bead weight before fly pattern
- Shorten distance for contact
- Lengthen leader in low clear water
- Raise rod angle in snaggy sections
- Slight sag cushions takes
Bead Sizes by Flow
If you’re not touching bottom occasionally, you’re usually fishing too high. Change bead size before changing patterns.
| Condition | Bead size | Notes |
|---|---|---|
| Low & clear, spooky fish | 2.3–2.5mm tungsten | Smaller profile; slower drifts; longer leaders often help. |
| Typical runs & seams | 3.0–3.5mm tungsten | Your most-days starting point. |
| Deeper lanes / faster tongues | 3.5–4.0mm tungsten | Get down quickly; shorten distance to keep control. |
| Too many snags | Drop or raise rod angle | Try a different drift lane before changing flies. |
Tip: pair a heavier point fly with a lighter dropper. This keeps your rig tracking naturally and improves hook-up rates.
Reading Vaal Water for Euro Nymphing
Yellowfish feed where they can hold position and intercept food. On the Vaal, that often means edges of fast water, seams and structure transitions.
High-Percentage Lanes
- Seam lines
- Rock tongues and V-current pushes
- Depth changes
- Tailouts where food funnels
- Soft edges behind boulders
Common Misses
- Fishing uniform flow only
- Standing too close
- Ignoring micro-depth changes
- Not changing angle across seams
- Overweighting and dragging bottom
Step-by-Step: The Vaal Euro Drift
- Start close. Fish short controlled drifts first.
- Lead the flies. Rod tip slightly ahead; sighter shows tension without towing.
- Manage depth. Change bead size or lane before changing fly patterns.
- Expect the take zone. Many eats happen as flies settle or enter slower lanes.
- Finish clean. If you swing at the end, do it intentionally.
Casting Notes
- Tuck cast: drives flies down quickly.
- Set the angle before landing: reduces instant drag.
- Keep slack purposeful: a slight cushion protects micro-takes.
Strike Detection
If the sighter does anything you didn’t expect, set. Stops, twitches, accelerations, hesitations or drifting “wrong” are all takes until proven otherwise.
Visual Cues
- Sighter stops mid-drift
- Sighter kicks sideways
- Sighter speeds up unnaturally
- Sighter dips or straightens suddenly
Feel Cues
- Micro tap or tick that is not bottom
- Pressure builds briefly
- The drift goes light unexpectedly
- A soft bump followed by slack
Troubleshooting
I Never Touch Bottom
Go heavier or shorten distance, and choose a lane with softer near-bottom speed.
I Snag Constantly
Drop bead size 0.5mm, raise rod angle or fish the seam edge.
I See Fish, No Takes
Slow the drift, reduce profile, lengthen leader and focus on natural depth.
Takes Feel Late
Fish closer, keep slight sag and set on earlier visual cues.
Seasonal Adjustments
Cooler / Clearer Water
- Smaller patterns #14–#18
- Subtle hotspots
- Longer leaders and finer tippet
- Slower lanes and deliberate drifts
Warmer / Variable Flows
- Heavier beads to punch down
- Aggressive seam fishing
- Match weight to depth quickly
- Switch to dries or dry-dropper when fish lift
Planning a September to November Vaal River trip?
Spring is when Yellowfish search interest and river activity start building again. Read the Spring Yellowfish Fly Fishing on the Vaal River guide for seasonal flies, flow tips and booking timing.
When to Switch to Indicator Nymphing
Indicator rigs shine when you need long drifts in slow glides, or when wind and distance make tight-line control unrealistic.
Indicator Baseline
- Floating line → 9–12ft leader → 4X–5X tippet
- Smaller yarn or foam indicator in technical water
- Mend early to reduce surface drag
FAQ
What’s the best starting bead size for the Vaal?
Start at 3.0–3.5mm tungsten for most runs. If you never touch bottom, go heavier; if you snag too much, go lighter.
Do I always need two flies?
Two flies cover depth and profile better, but a single fly is cleaner in snaggy water.
What’s the #1 reason people struggle with Euro nymphing?
Fishing too far. Shorten distance and you’ll immediately improve contact, strike detection and depth control.